
Music Video Production Guide for Musicians on YouTube
Discover a step-by-step music video production guide for artists. Learn to prepare, create, edit, and launch engaging videos for YouTube and campaigns.
Music Video Production Guide for Musicians on YouTube
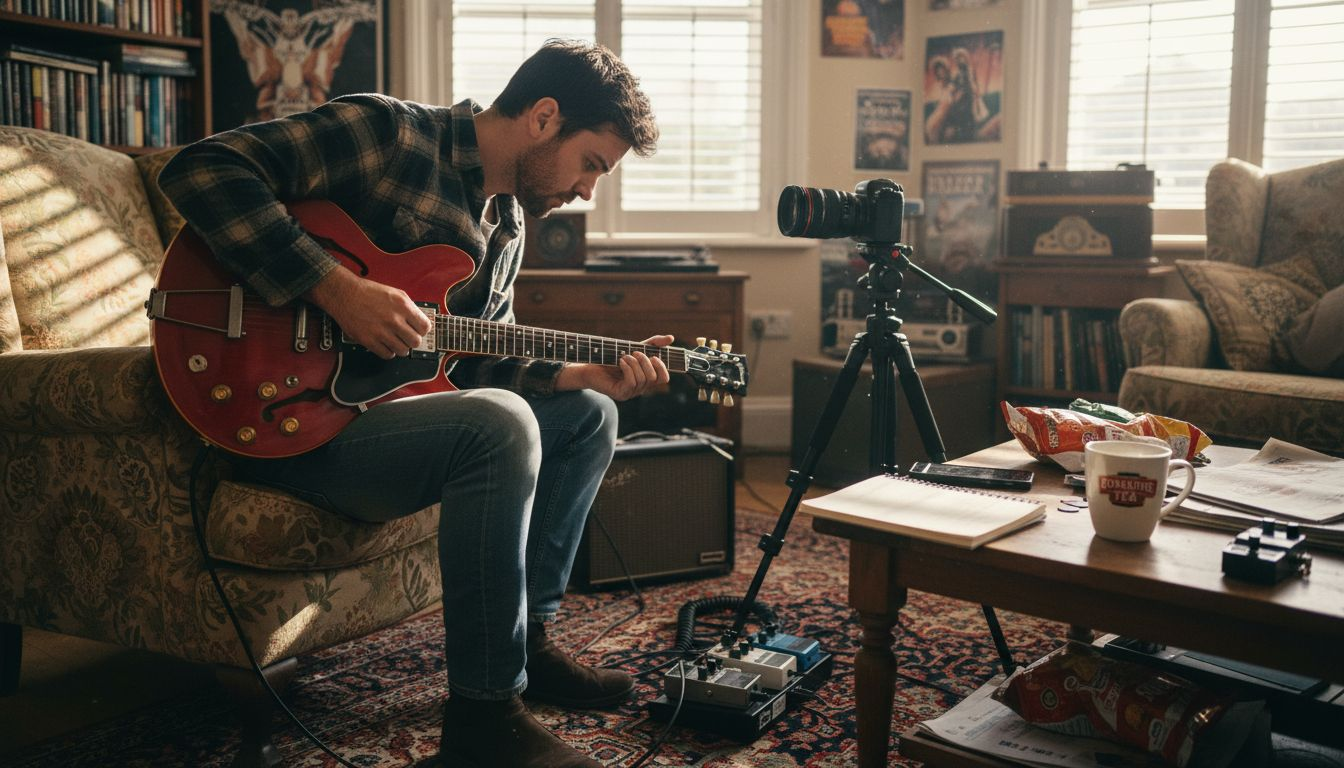
Every independent musician hits that crossroads where a simple lyric video is no longer enough to stand out. Music videos are now the calling card for connecting with new fans on YouTube and boosting your online presence. Planning ahead makes all the difference—storyboarding is the visual blueprint that brings your creative vision to life, matches the mood of your music, and keeps your crew focused so every production step runs smoothly.
Table of Contents
- Step 1: Define Your Video Storyboard And Concept
- Step 2: Set Up Your Filming Environment And Equipment
- Step 3: Record Your Performance And Visuals
- Step 4: Edit Your Footage For Impact And Clarity
- Step 5: Verify Video Quality And Prepare For Upload
Quick Summary
| Key Point | Explanation |
|---|---|
| 1. Define your video concept clearly | Identify the story and audience for your video to align visuals with musical elements effectively. |
| 2. Set up a suitable filming environment | Choose a location that allows control of lighting and sound to enhance video quality. |
| 3. Capture multiple angles and takes | Film several performances from various angles for dynamic editing choices in post-production. |
| 4. Organise and edit footage meticulously | Arrange clips by song sections and refine cuts to maintain viewer engagement and clarity. |
| 5. Conduct thorough quality checks before upload | Verify audio-visual quality on various devices to avoid problems after publishing online. |
Step 1: Define your video storyboard and concept
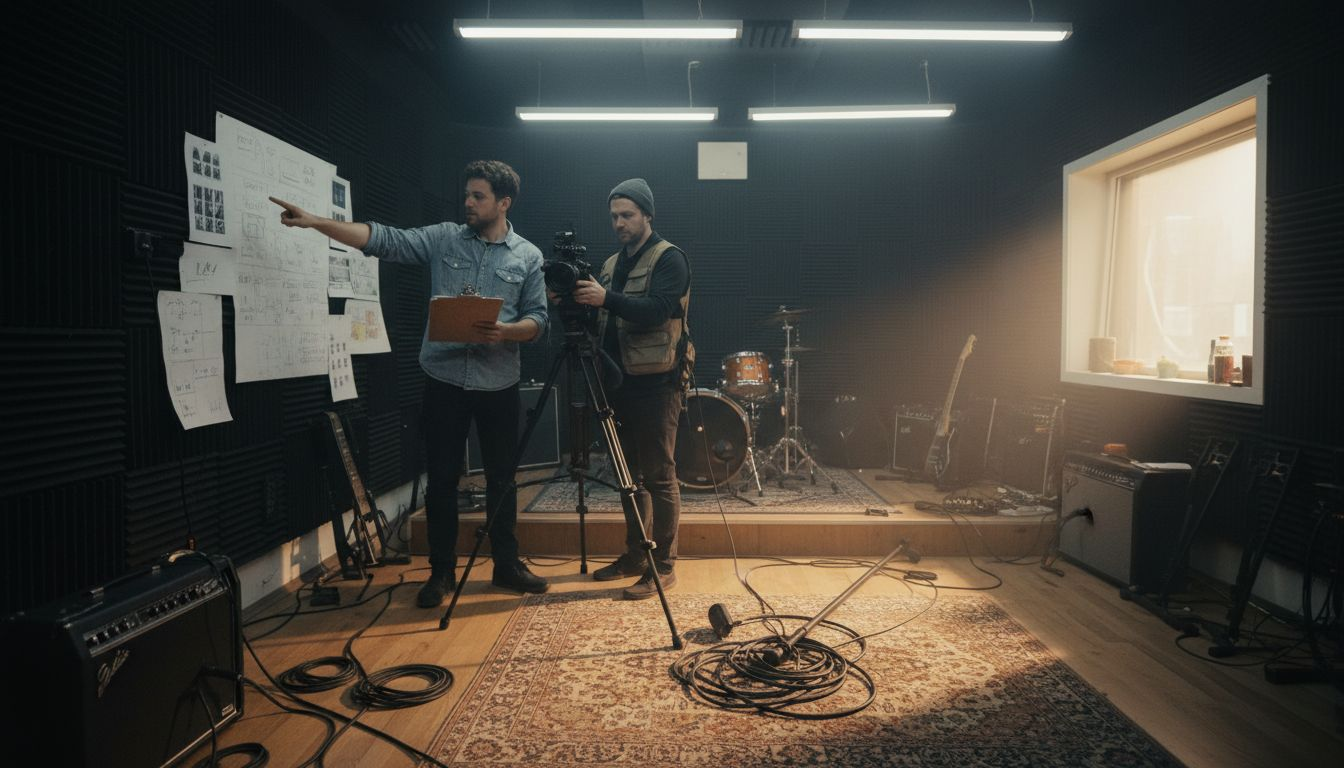
Your storyboard is the visual blueprint that transforms your song into a compelling video. Before you film a single frame, you need a clear plan that aligns your music with imagery, pacing, and narrative flow.
Start by defining what your video is actually about. What story does your song tell? Is it autobiographical, abstract, performance-focused, or narrative-driven? Your concept answers this question. Once you know your direction, think about your audience. Who are you making this for? Your target viewers will shape every creative decision you make.
Next, write a structured script or outline with a clear beginning, middle, and end. This doesn’t need to be Hollywood-level prose—just a breakdown that shows how your song progresses visually. Detailed storyboarding serves as the visual blueprint that captures your concept, shot lists, timing, and production notes all in one place.
Break your song into sections: verse, chorus, bridge, outro. For each section, jot down 3-5 key visuals or shots you want to include. Think about:
Here’s a summary of different music video concepts and their main characteristics:
| Concept Type | Visual Style Example | Best For |
|---|---|---|
| Autobiographical | Real-life scenes | Personal storytelling |
| Performance-focused | Stage or location shots | Showcasing musicianship |
| Abstract | Symbolic or artistic | Evoking emotion |
| Narrative-driven | Story progression | Viewers who seek drama |
- The mood and energy of each section
- Whether you’ll perform, act, or show conceptual imagery
- Camera movements and angles that match the music
- Transitions between scenes
- Any text, effects, or special elements
Sketch rough visuals if you can draw, or gather reference images from films, YouTube videos, or Pinterest. These don’t need to be polished—they’re just visual references to keep everyone on the same page.
Your storyboard is the shared vision that keeps your crew aligned and your production efficient.
Once your storyboard is mapped out, you’ve got a clear roadmap. This prevents mismatched pacing, wasted shooting time, and creative confusion during production. You and your crew will know exactly what you’re building.
Pro tip: Use simple software like Storyboarder or even Google Slides to mock up your shots with images and notes—you don’t need expensive tools to create a functional storyboard that guides your entire shoot.
Step 2: Set up your filming environment and equipment
Getting your filming space and gear right makes the difference between a video that looks amateur and one that looks professional. You don’t need a fancy studio, but you do need to think through your space and equipment choices.
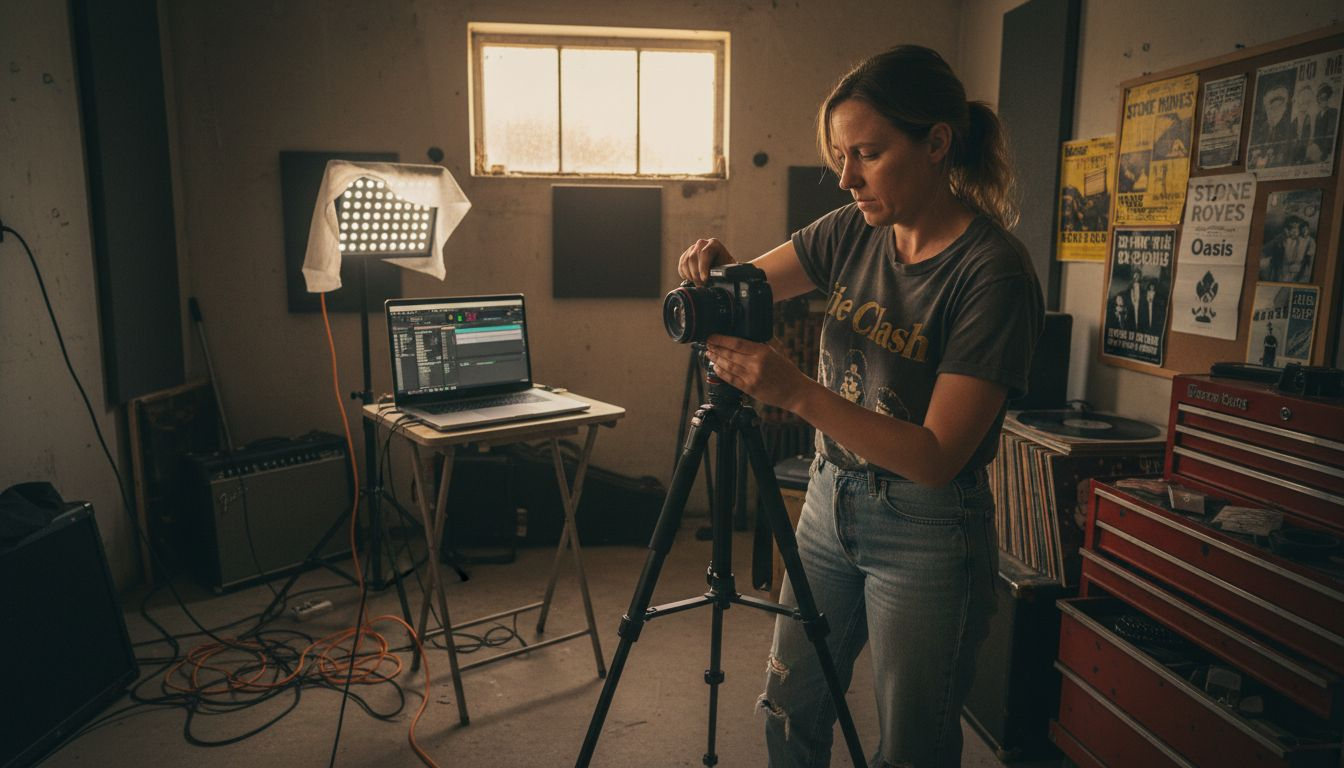
Start by choosing your location. You might film in a bedroom, living room, garage, or outdoor space—whatever fits your concept. The key is controlling what you can. Pick a space where you can manage lighting, sound, and distractions. An empty wall works brilliantly for performance videos, whilst a cluttered background pulls focus from you.
Next, assess your camera options. Modern smartphones shoot excellent video, but if you’re investing, mirrorless or DSLR cameras capable of shooting 4K footage give you more control and a more cinematic look. High-quality cameras paired with stabilisation gear like tripods or gimbals create the polished visuals your audience expects.
Lighting is where many musicians stumble. Poor lighting kills even great performances. You need three basic elements:
- A key light to illuminate your main subject
- A fill light to soften harsh shadows
- A back light to separate you from the background
Softbox or LED lights work well and won’t break the bank. Position them strategically and test everything with a quick recording before you commit to the full shoot.
Audio matters as much as visuals. Invest in a decent microphone—a lavalier mic or USB condenser mic captures clean vocal recordings. Position your microphone to minimise background noise and echo. If you’re filming where sound echoes badly, hang blankets or use acoustic treatment materials to absorb sound and improve clarity.
Organise your cables and keep your setup tidy. Messy cable management wastes time and looks unprofessional if anything appears on camera.
Right equipment matched to your concept creates the professional foundation every music video needs.
Pro tip: Test your entire setup with a short recording before filming your actual video—this catches lighting issues, audio problems, and awkward angles before you waste hours shooting.
Step 3: Record your performance and visuals
Now it’s time to actually film. This is where your storyboard and equipment come together to create the raw material for your video. The key is capturing multiple angles and movements that bring energy to your visuals.
Start by understanding your specific approach. Are you filming a pure performance video where you’re singing and playing? A narrative-driven concept? A combination of both? Different video formats require different shooting strategies, so know your direction before you press record.
Begin with a rehearsal take. Run through the song whilst the camera rolls so your crew can check framing, lighting, and audio levels. This rehearsal also helps you get comfortable and find your rhythm. Once you’re ready, roll multiple takes. Don’t settle for just one perfect run—capture 3-5 full performances from slightly different angles or with different energy levels.
Vary your shots throughout filming:
- Wide shots showing your full body and environment
- Medium shots focusing on your upper half or torso
- Close-ups of your face, hands, or instrument
- Dynamic movement such as pans, tilts, or camera movement following your motion
For each shot type, direct your expressions and movements to match the song’s emotion. A melancholic verse needs different energy than an explosive chorus. Coach yourself or any collaborators on what feeling each section should convey.
Manage your audio carefully. If you’re lip-syncing to a backing track, ensure it’s playing loudly enough through speakers so you stay in sync. If recording live vocal performance, monitor your microphone levels continuously. Bad audio ruins a great visual.
After each take, pause and check your footage. Is the lighting flattering? Are your movements visible? Is the framing tight enough or too tight? Make adjustments before rolling again.
Multiple takes from varied angles give you creative options during editing and ensure you’ve captured the best possible performance.
Pro tip: Film at least two full performances of each section—one where you concentrate on emotional authenticity, and one where you prioritise dynamic movement, giving you the best of both worlds during editing.
Step 4: Edit your footage for impact and clarity
Editing is where your raw footage becomes a polished music video. This is your chance to shape pacing, mood, and narrative flow to match your song’s emotional arc.
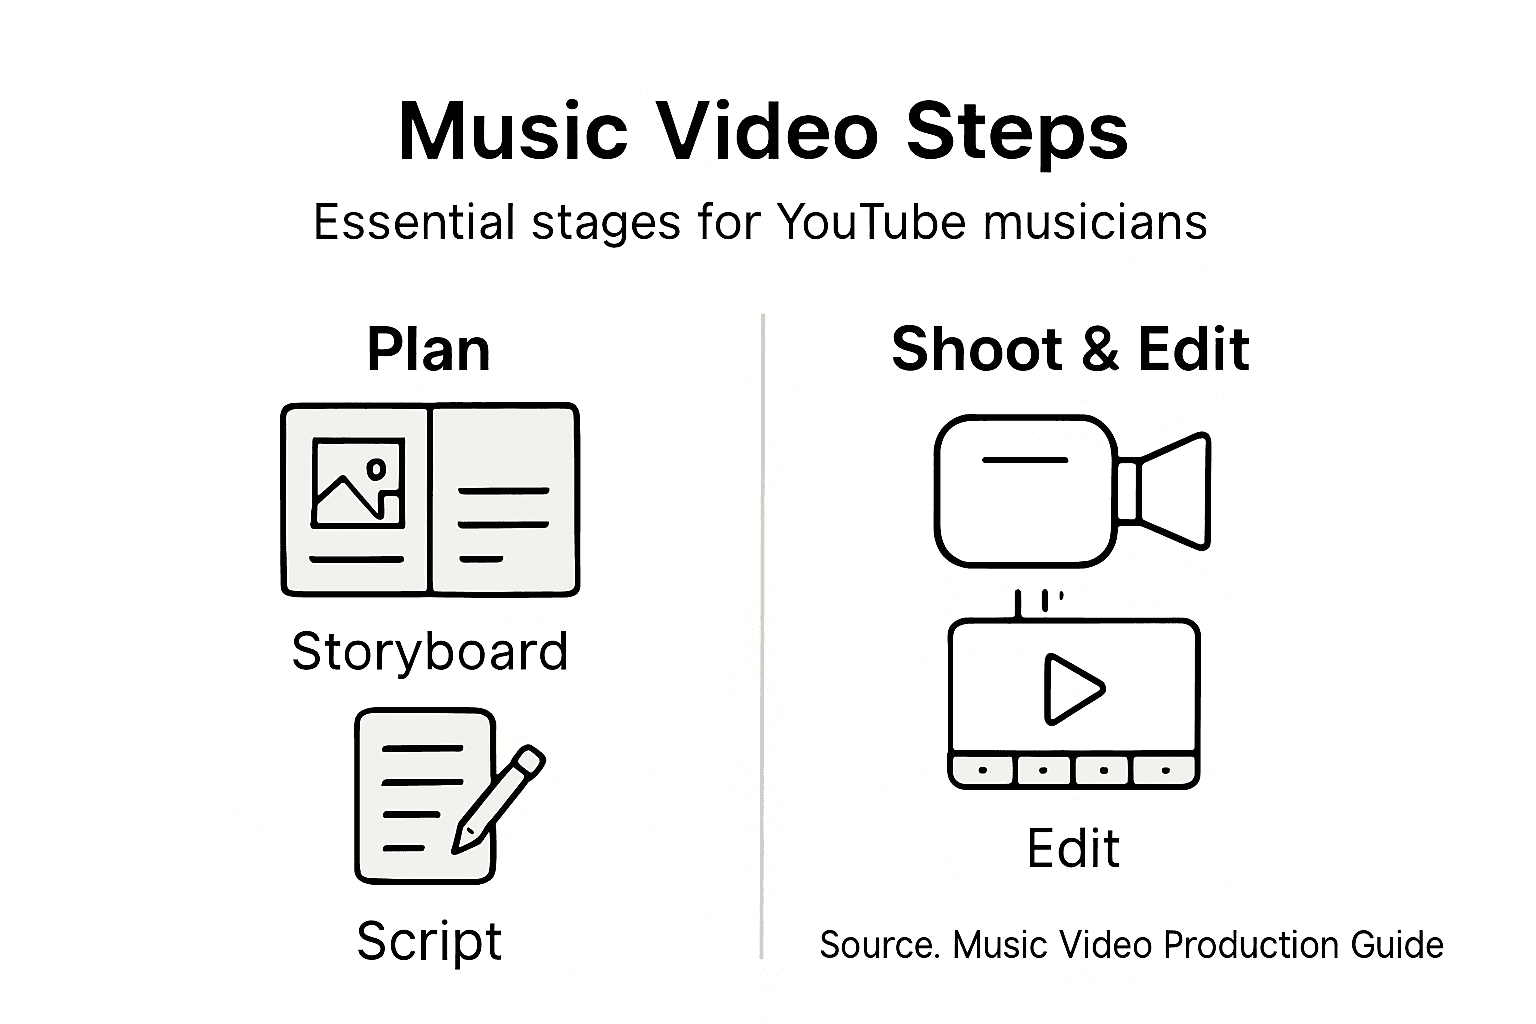
Start by organising your clips. Import all your footage into your editing software and label each take clearly. Group clips by song section (verse one, chorus, bridge) so you can find what you need quickly. This saves hours when you’re deep in the editing process.
Create a rough cut by selecting your best takes from each angle. Don’t overthink it at this stage—just choose the footage that feels strongest. Arrange these clips in sequence and sync them to your audio track. You should now see roughly how long your video is and where energy dips or peaks.
Effective music video editing transforms raw footage into a visually captivating story by matching the energy and emotion of your music. Focus on these key elements:
- Cutting with intention to enhance rhythm and match beat changes
- Clean transitions between shots that feel natural, not jarring
- Pacing that keeps viewers engaged throughout
- Colour correction for visual consistency across all shots
- Audio syncing so visuals align perfectly with your vocal and instrumental tracks
Now refine your edit. Tighten shots that drag, add breathing room where needed, and adjust transitions. Watch your video section by section. Does the energy build appropriately? Do cuts feel intentional or random? Fine-tuning audio and colour quality helps establish the right tone and ensures a polished final product.
Add titles if your concept needs them. Include your song title, artist name, and any credits at the end. Keep text minimal and on screen long enough to read comfortably.
Professional editing isn’t about fancy effects—it’s about making intentional choices that serve your song and keep viewers watching.
Pro tip: Export a rough cut and watch it on your phone or television, not just your computer screen, to spot pacing issues and colour problems you might miss on a small monitor.
Step 5: Verify video quality and prepare for upload
Before you publish your video to YouTube, you need to verify everything looks and sounds perfect. A few minutes of quality checking now prevents embarrassing issues after you’ve gone public.
Start by watching your final edit from start to finish on your actual computer, not just your editing software’s preview window. Look for any visual glitches, colour inconsistencies, or audio problems. Pause on any section that feels off and make notes. Does the video maintain consistent brightness throughout? Are there any jarring cuts or sync issues?
Test playback on multiple devices. Watch your video on your phone, tablet, and television if possible. What looks good on your computer monitor might reveal flaws on a smaller or larger screen. This catches compression issues and reveals problems you’d otherwise miss.
Next, prepare your export settings. YouTube requires specific technical specifications for optimal playback. Export your video in MP4 format with H.264 codec, which balances quality and file size perfectly. Use these settings:
Below is a quick reference to essential export settings for YouTube:
| Setting | Recommended Option | Effect on Final Video |
|---|---|---|
| Format | MP4 with H.264 codec | Balances quality and size |
| Resolution | 1920x1080 or 4K | Ensures HD playback |
| Frame Rate | 24fps or 30fps | Maintains original motion |
| Bitrate | 8-16 Mbps | Prevents pixelation |
- Resolution: 1920x1080 (Full HD) or higher if you shot 4K
- Frame rate: Match your original footage (typically 24fps or 30fps)
- Bitrate: 8-16 Mbps for high quality
Compress your file efficiently so it uploads quickly without losing visual quality. A file that’s too large creates upload headaches; one that’s too compressed looks pixelated and unprofessional.
Before uploading, add your metadata. This includes your song title, artist name, a compelling description, and relevant tags. Write a description that tells viewers what they’re about to watch and includes links to your music on streaming platforms. Format your video appropriately and add captions if possible, as they improve accessibility and boost engagement.
Quality verification takes minutes now and prevents the frustration of discovering problems after thousands of people have already seen them.
Pro tip: Upload an unlisted version first, watch it on YouTube itself to see how it actually plays on their platform, then make it public once you’ve confirmed everything looks and sounds exactly as intended.
Simplify Your Music Video Production and Boost Your YouTube Presence
Creating a professional music video can feel overwhelming with complex storyboarding, equipment setup, filming, and editing demands. The guide highlights key challenges such as capturing varied angles, syncing audio perfectly, and ensuring your video meets YouTube’s technical standards. If you want to avoid wasted time and frustration while achieving a polished, engaging performance video that connects with your audience, there is a better way.

At Music Video Marketplace, we enable musicians to create long form videos within minutes so you can focus on sharing your creativity, not technical hassles. Whether you need help structuring your concept or producing a seamless final video ready for YouTube, our platform supports you every step of the way. Start your journey with our easy tools that transform your music and story into a captivating video and launch your ad campaign directly to reach fans worldwide. Don’t let complexity delay your success. Visit Music Video Marketplace now and bring your music video vision to life with confidence.
Frequently Asked Questions
How do I define the concept for my music video?
Begin by identifying the story your song tells and the mood you want to convey. Think about whether your video will be autobiographical, performance-focused, abstract, or narrative-driven to guide your vision.
What equipment do I need to film a professional-looking music video?
You need a good camera, such as a DSLR or mirrorless option, along with stabilisation gear like tripods. Ensure you also have proper lighting setup with key, fill, and back lights to enhance your visuals and sound recording equipment to capture clear audio.
How should I edit my music video for the best results?
Start by organising your clips and selecting the strongest takes for a rough cut, then refine it by focusing on pacing, transitions, and colour correction. Aim to make intentional cuts that match the rhythm and emotional flow of your song to engage viewers effectively.
What are the essential steps to ensure video quality before uploading?
Before uploading, verify the video from start to finish on multiple devices to catch any issues. Check for visual glitches, audio sync problems, and ensure you export it in the proper format to satisfy YouTube’s technical specifications.
How can I effectively capture my performance during filming?
Film multiple takes from various angles to ensure you have plenty of options to choose from during the editing phase. Focus on capturing the energy and expressions that align with your song’s mood throughout each section to enhance the final product.
Should I add captions to my music video, and why is it important?
Yes, adding captions improves accessibility and can enhance viewer engagement. Consider including them so your content reaches a broader audience and maintains attention throughout your video.
Recommended
- Music Video Production Workflow for YouTube Success | Music Video Marketplace Blog
- Music Video Creation Guide for Quick YouTube Launch | Music Video Marketplace Blog
- Music Video Marketing Guide for Independent Musicians | Music Video Marketplace Blog
- Complete Youtube Music Upload Workflow for Musicians | Music Video Marketplace Blog
Read next
 Music Video Production Workflow for YouTube SuccessFollow this music video production workflow to efficiently create, edit, publish, and promote your long-form music video on YouTube for maximum impact.
 Music Video Revision Policy: What to Agree Before You StartHow music video revision policies work in the UK: rounds, scope changes, sign-off and deemed acceptance, plus how ready-made videos cut the need for revisions.
 Music Video Styles: Types, Aesthetics and How to ChooseThe main music video styles, what shapes a video's aesthetic, and how artists, labels and managers pick a look that fits the song and the release.
 Music Video Loudness on YouTube: What Level to Aim ForMaster your song to about -14 LUFS with true peak at -1 dBTP, learn how YouTube turns loud audio down, and check your upload with Stats for nerds.
Turn the idea into a finished music video.
Drop your track into the Studio and build your visual in minutes.