
Best YouTube export settings for creators and editors
Master YouTube export settings for the best video quality. Use MP4 with H.264 and AAC for stunning uploads that stand out.
Best YouTube export settings for creators and editors
The best upload-ready export for YouTube is an MP4 file with H.264 video, AAC audio, matched to your source frame rate and resolution, encoded with YouTube’s recommended bitrates pushed slightly higher. Get those five things right and everything else is fine-tuning.
Copy these into any export dialogue:
- Container: MP4
- Video codec: H.264, High profile
- Audio codec: AAC-LC, 48 kHz, stereo
- Frame rate: match your source exactly, no conversion
- Colour: Rec.709 for standard dynamic range
- File setup: enable “Fast Start” so the moov atom sits at the front of the file
- Bitrate mode: VBR, 2-pass, with target and maximum set per your resolution (see the table below)
Pro Tip: After uploading, wait for YouTube Studio to finish processing, then play the video back and check the settings gear for a 1080p60 or 4K option. If only lower resolutions appear, your source file didn’t carry enough bitrate or detail to earn the higher-quality encode.
Key Takeaways
Getting a YouTube upload to look its best comes down to five settings: MP4 container, H.264 codec, matched frame rate, correctly tagged colour space, and a bitrate pushed above YouTube’s published floor.
| Point | Details |
|---|---|
| Use the standard container and codec | MP4 with H.264 High profile plays back reliably and matches YouTube’s own encoding preference. |
| Match your source frame rate | Never convert frame rate at export; resampling causes visible judder that bitrate can’t fix. |
| Pad your bitrate | Export above YouTube’s floor so detail survives re-encoding. |
| Mix audio to loudness spec | Target roughly −14 LUFS with true peaks under −1 dBTP for consistent playback volume. |
| Skip the export step entirely | Musicvideomarketplace supplies YouTube-ready music videos built to export correctly from the start. |
Table of Contents
- YouTube resolution and bitrate reference table
- Why container, codec, and colour space actually matter
- How to export from Premiere Pro for YouTube
- Final Cut Pro, Compressor, and HandBrake export recipes
- Getting YouTube Shorts export settings right
- Advanced export tips and common upload problems
- What creators get wrong most often
- Get a YouTube-ready music video without the export guesswork
- Sources
YouTube resolution and bitrate reference table
YouTube publishes bitrate ranges by resolution and frame rate, but most experienced editors export above the floor rather than at it. Google’s own encoding guidance sets baseline numbers for standard dynamic range and HDR, while practical testing from creators shows that padding those figures helps footage survive YouTube’s own re-encode with less banding and fewer compression artefacts.
Those are YouTube’s published floors. Practical testing from working editors suggests going higher, for example a bitrate noticeably higher than the minimum at 1080p30, because YouTube’s re-encode is kinder to files that arrive with more headroom.
Push towards the top of the range, or above it, when your video has:
- Fast motion or handheld camera movement (concert footage, dance sequences)
- Smooth colour gradients or sky shots, which show banding first
- Dark or night scenes, where low bitrate crushes shadow detail into blocky patches
Pro Tip: If you shot in 4K but plan to publish at 1080p, upload the 4K master anyway. Creator tests show YouTube tends to allocate newer, more efficient codecs like VP9 or AV1 to higher-resolution sources, so your 1080p viewers often see a sharper result than if you’d exported at 1080p directly.
Why container, codec, and colour space actually matter
MP4 wrapping H.264 video remains the safe default because every major platform and editor decodes it without complaint, and Adobe’s own export guidance builds its YouTube preset entirely around that combination. H.265 (HEVC) is worth considering for 4K masters when file size or upload speed matters more than universal compatibility, since it holds similar quality at roughly half the file size but takes longer to encode.
Frame rate mismatches cause the visible judder you sometimes spot in re-uploaded footage. YouTube’s guidance is blunt on this: match your original frame rate rather than converting it, because resampling 24fps footage to 30fps (or the reverse) introduces stuttering that no amount of bitrate fixes. Interlaced footage needs deinterlacing before export too. Progressive scan is a requirement, not a preference.
Colour space trips up more editors than bitrate does. Tag SDR footage as Rec.709; if you’re delivering HDR, tag it correctly as BT.2020 with HLG or PQ, because an untagged or mistagged file can wash out or oversaturate on playback.
A few file-level habits also protect quality:
- Enable Fast Start (moov atom at the front) so YouTube can begin processing before the full file finishes transferring
- Use closed GOP structure, which most presets set automatically
- Avoid aggressive chroma subsampling changes between your edit and export, which is often where colour banding creeps in
Pro Tip: Most post-upload colour shifts trace back to one thing: a mismatched colour space tag between your edit timeline and your export settings. Check both before you export, not after you spot a problem on the live video.
How to export from Premiere Pro for YouTube
Set format to H.264 with MP4 as the container, profile High, and level matched to resolution (5.1 for 4K, 4.2 for 1080p). Adobe’s own export documentation confirms VBR 2-pass as the recommended bitrate mode, with target and maximum bitrates set from the resolution table above.
- Match sequence settings to your source frame rate before touching export
- Set bitrate encoding to VBR, 2-pass
- Tick “Render at Maximum Depth” and “Use Maximum Render Quality” in the export dialogue
- Set audio to AAC, 48 kHz, stereo
- Confirm Fast Start / network optimisation is enabled
- Choose software encoding for final masters (slower but better quality); hardware encoding is fine for quick drafts
Pro Tip: Save these settings as a custom preset rather than relying on Premiere’s built-in YouTube preset, which can underfeed bitrate on some project types. Your own preset guarantees every field is set the way you want it.
Final Cut Pro, Compressor, and HandBrake export recipes
Apple’s support documentation points editors towards the Social Platforms or Web Hosting destinations for H.264 exports with AAC audio at 48 kHz and Rec.709 tagging for SDR. Some Final Cut Pro versions have dropped a direct YouTube button, so exporting via Compressor’s custom H.264 settings is the more reliable route.
For HandBrake, the free encoder many editors use as a fallback:
- Set container to MP4, video codec to H.264
- Match your source frame rate exactly
- Use constant quality (CRF) around 18 to 20 for near-lossless output, or switch to average bitrate matching the resolution table
- Set audio to AAC, 48 kHz
- Play back the exported file locally before uploading, checking for stutter or colour shift
- Compressor gives more granular bitrate control than Final Cut’s built-in share menu
- HandBrake’s CRF mode is often easier than juggling target/max bitrates manually
Getting YouTube Shorts export settings right
Shorts need a vertical frame, not a cropped landscape file. Export at 1080 × 1920 (9:16), H.264 in an MP4 container, matched to your source frame rate exactly as with long-form video.
- Bitrate target: 10 to 15 Mbps for 1080p vertical, higher for fast-cut edits
- Audio: AAC, 48 kHz, stereo
- Build your sequence vertically from the start rather than rotating a horizontal clip afterwards
Pro Tip: Editing in a horizontal timeline and cropping to vertical at export often leaves the player adding black bars or an awkward centre crop. Set up a vertical sequence from the first cut and you avoid this entirely.
Advanced export tips and common upload problems
VBR 2-pass beats constant bitrate (CBR) for final masters because it allocates bits where the footage actually needs them, spending more on a fast chorus cut and less on a static verse shot. Software encoding, though slower than hardware acceleration, consistently produces cleaner results for a final upload.
Banding and posterisation usually come from working in 8-bit colour through a heavy grade. Editing at higher bit depth and applying light dithering before export reduces the visible stepping in skies and gradients.
For audio, mix to roughly −14 LUFS with true peaks no higher than −1 dBTP, which matches YouTube’s own loudness handling and avoids the platform clamping your track unexpectedly.
- Symptom: blocky, smeared detail → fix: raise bitrate above the resolution floor
- Symptom: judder or stutter → fix: re-export matching the original frame rate
- Symptom: washed-out or oversaturated colour → fix: re-check Rec.709/HDR tagging before export
Pro Tip: Do a test upload as unlisted first. Let processing finish, then check the available quality tiers in the player settings gear before you make the video public.
What creators get wrong most often
Musicians exporting their own music videos tend to make the same three mistakes: exporting at a bitrate too low for a bass-heavy visual style, ignoring loudness and true peak until the mix sounds thin next to other uploads, and mismatching colour space after a heavy grade. Check both the audio loudness and the visual fidelity directly on the YouTube upload workflow before calling a release finished, not just in your editing suite.
Get a YouTube-ready music video without the export guesswork
Every setting above assumes you’re starting from your own raw footage. If you’d rather skip the encoding checklist entirely, Musicvideomarketplace offers ready-to-edit, human-made music videos that export correctly for YouTube from the outset, built around your track and your branding rather than a stock template.
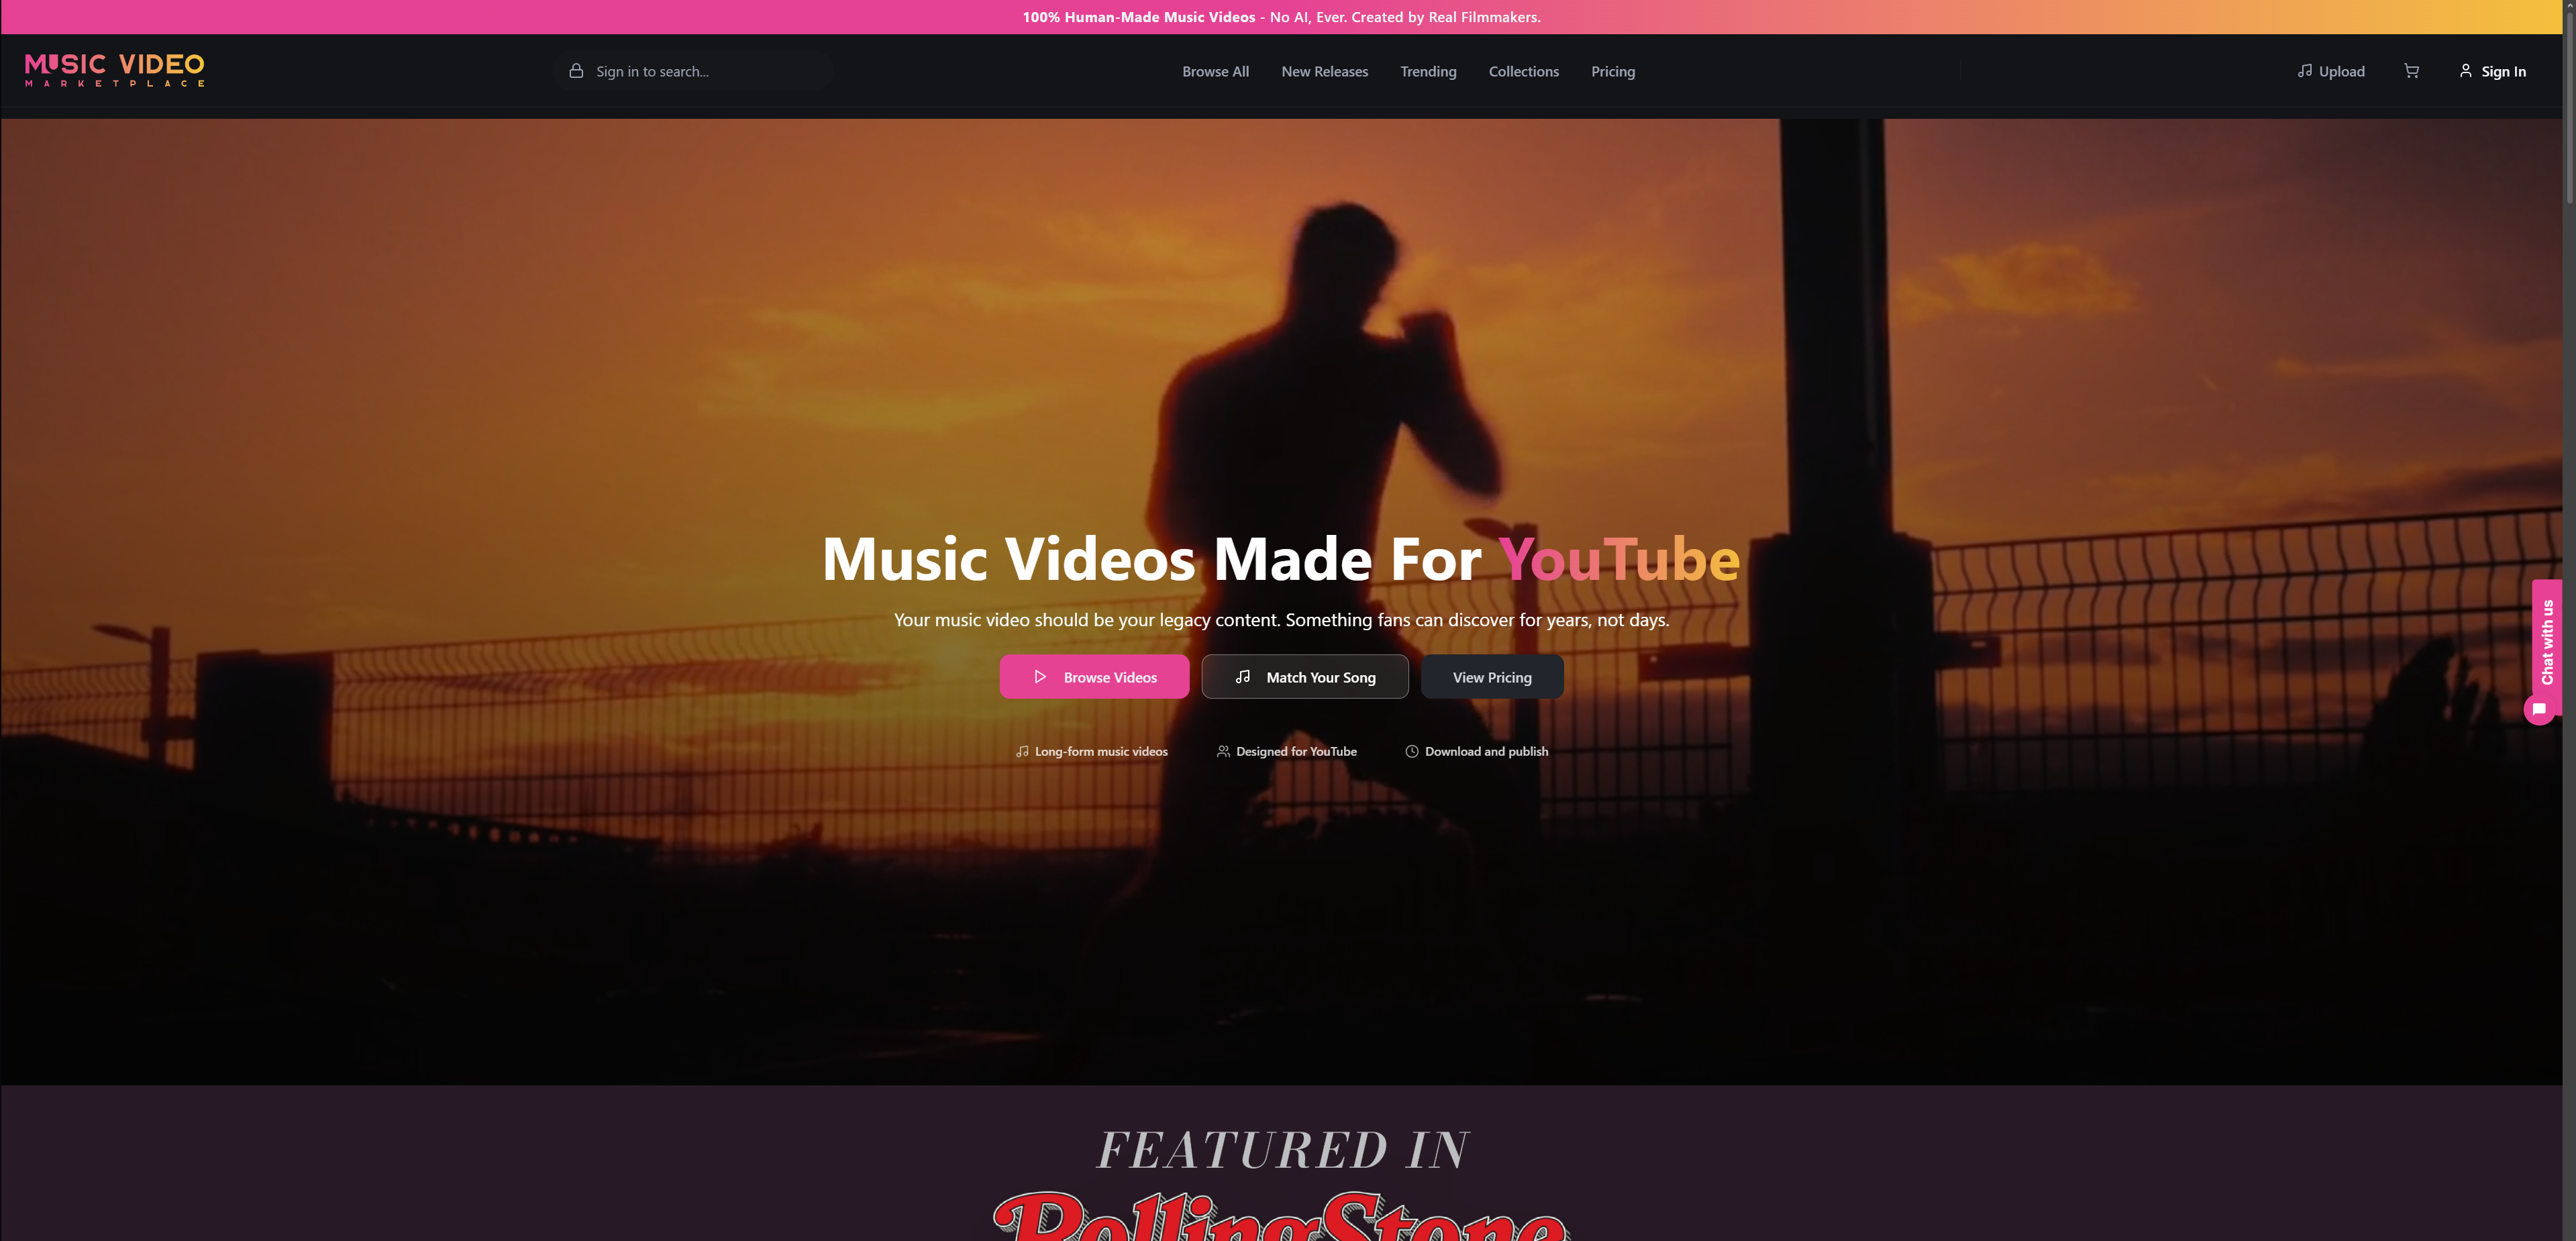
You upload your audio, customise the visuals, and the export handles the container, codec, and bitrate work described in this guide, so nothing arrives underpowered or mistagged. That matters most for artists releasing on a schedule, where re-exporting a botched upload costs a day you don’t have. Musicvideomarketplace also generates short vertical clips from the same video for social promotion and can launch an ad campaign around the finished track. Browse the current music video catalogue to see what’s ready to customise for your next release.
Sources
- YouTube recommended upload encoding settings - YouTube Help
- The best Premiere export settings for YouTube - Adobe
- Best export settings for YouTube — CutScore
- Share videos to social media using iMovie and Final Cut Pro - Apple Support
Recommended
- What is video optimisation: a creator’s guide | Music Video Marketplace Blog
- Analyse des formats vidéo YouTube en 2026 | Music Video Marketplace Blog
- Optimise your YouTube music distribution workflow | Music Video Marketplace Blog
- Réussir l’export vidéo pour musiciens : guide YouTube | Music Video Marketplace Blog
Read next
 YouTube Shorts specs: the complete technical spec sheetDiscover the key YouTube Shorts specs: aspect ratio, resolution, format, and more to optimize your videos for maximum engagement.
 Get Your Song Into Upload Ready Video in Days for Music ProfessionalsRelease-ready workflow for music professionals: license a full length, ad ready video, drop in your master, and export platform specific short clips in days.
 Apple Music motion artwork: get YouTube-ready video fastUnlock the power of Apple Music motion artwork to create stunning YouTube videos and ads quickly. Get ready-made packages for fast, professional results.
 What is a visualiser video? Essential guide for musicians 2026Discover how visualiser videos work, their advantages over traditional music videos, and practical steps to create engaging visuals that amplify your music's reach in 2026.
Turn the idea into a finished music video.
Drop your track into the Studio and build your visual in minutes.